Just last week I was setting up IP cameras at home and connecting the irrigation controller to the network and I was opening my network up to the internet WAY too much. (I was port forwarding all kinds of ports.) So to mitigate opening up to the internet so much I decided to set up a VPN tunnel that I could easily connect to which would allow me access to my local network. In a nutshell, instead of opening numerous ports on my router for every device I wanted remote access from, I opened up 1 singular port for the VPN and used OpenVPN software on my phone to connect back. Once connected it behaves as if I was at home and connected locally.
This post will go through the basics of setting up a simple VPN server on a cheap raspberry pi. This example uses the older RPi 2, which is more than sufficient for accessing a few IP cameras and other devices remotely.
The Hardware you will need to gather
- RPi 2 or 3.
- Ethernet cable
- HDMI Cable
- Keyboard/Mouse
- 8Gb SD Card
The Software titles you may want to download
- Etcher (For installing RPi image onto SD Card)
- Latest Raspbian Lite Image
- Putty
- OpenVPN Client Software
- Filezilla FTP Client – Useful for SFTP File transfers
- NotePad++ – Edit config files
- WinSCP – For file transfer from Windows PC to/From RPi
Prerequisite Setup – Because we need to get ourselves ready!
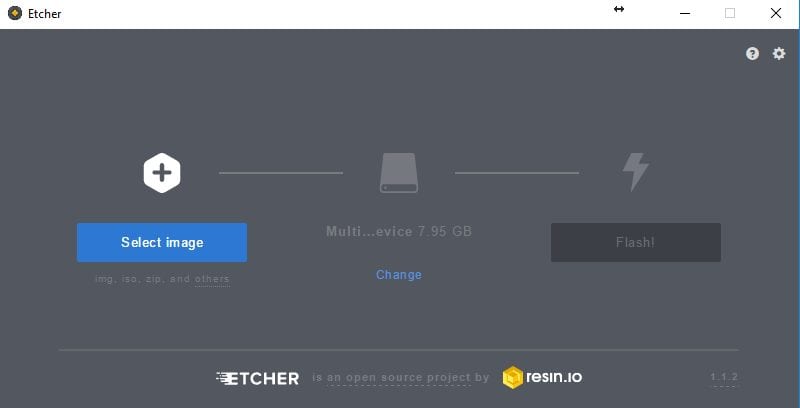
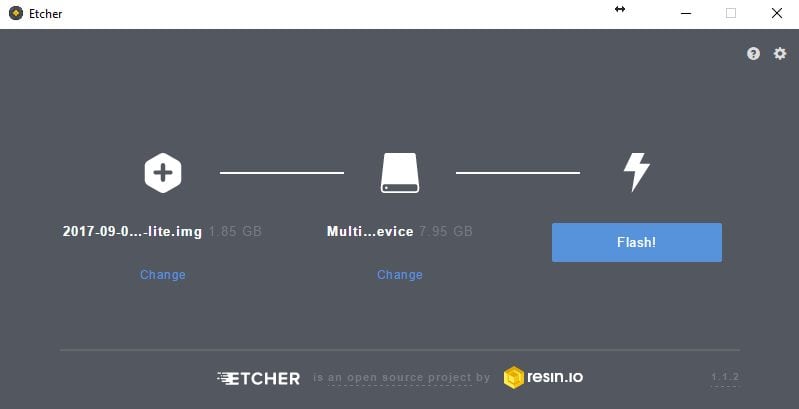
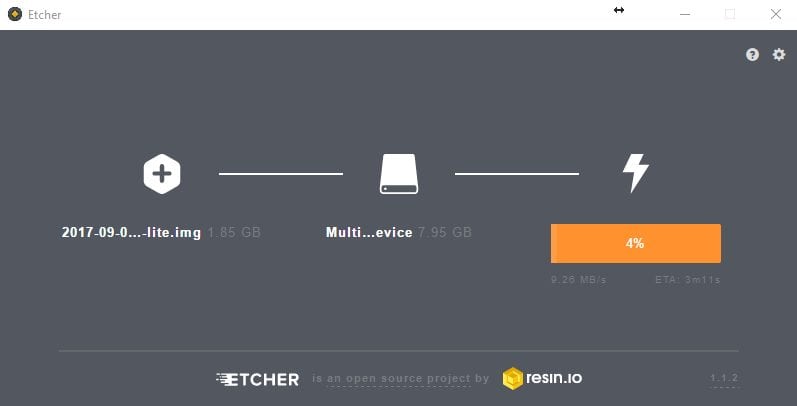
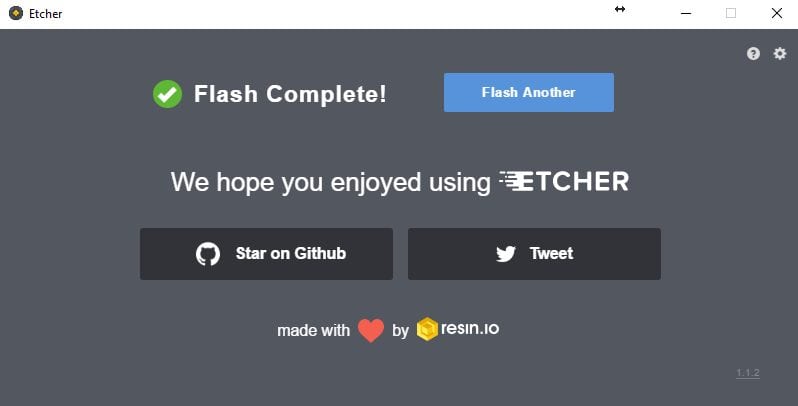
The first step is to prepare the SD card for the PI. A 4 or 8Gb SD card will be suitable for the Pi VPN installation. You will first need to download the latest Raspian Lite image (We do not require the GUI for PiVPN) and a copy of Etcher. Etcher will allow you to install and prepare your SD card. It is super easy to use.
Select Image > Select SD card (Make sure you select Correct Drive) > Click Flash.
How to setup SSH for remote access from our PC
We have chosen to run the Lite version of Raspbian because we do not require the additional overheads of the GUI. The VPN server will sit hidden away and we will connect to is via SSH if we need to. The problem is that SSH is not enabled by default. Thus we require the HDMI cable, a monitor and keyboard to change this first.
Insert the SD card we just made into the Pi and connect the HDMI cable to your monitor. We now need to power up the Pi. You should see the Pi initialize and on first run it may reboot once. The first thing you will have to do is log into the Pi. The default login is:
- Username: pi
- Password: raspberry
Viewing the Pi via the HDMI cable and using the connected keyboard and mouse is a pain in the arse, This is why we are setting up SSH, so we can go back to our computer and do all the configuration from the comfort of any PC.
At this stage, we need to enable SSH. To do this type:
Sudo raspi-config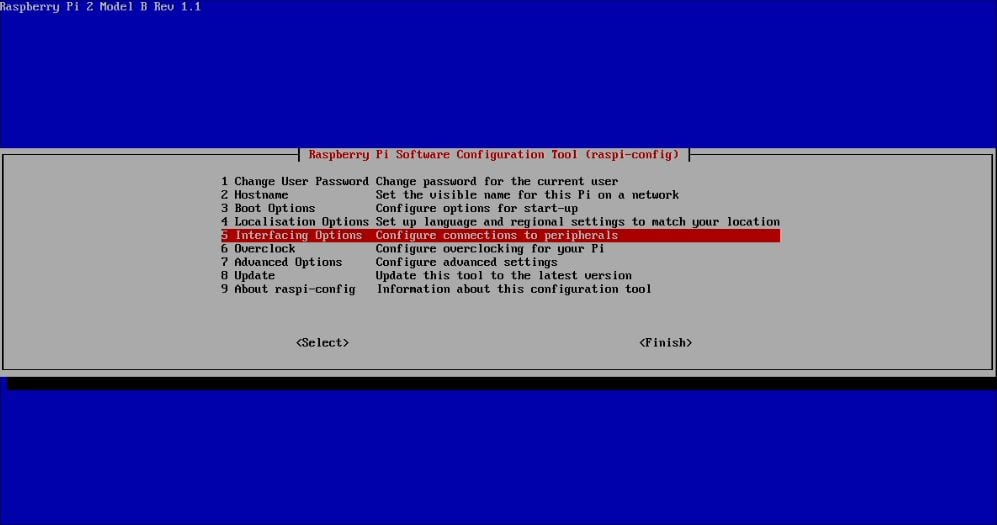
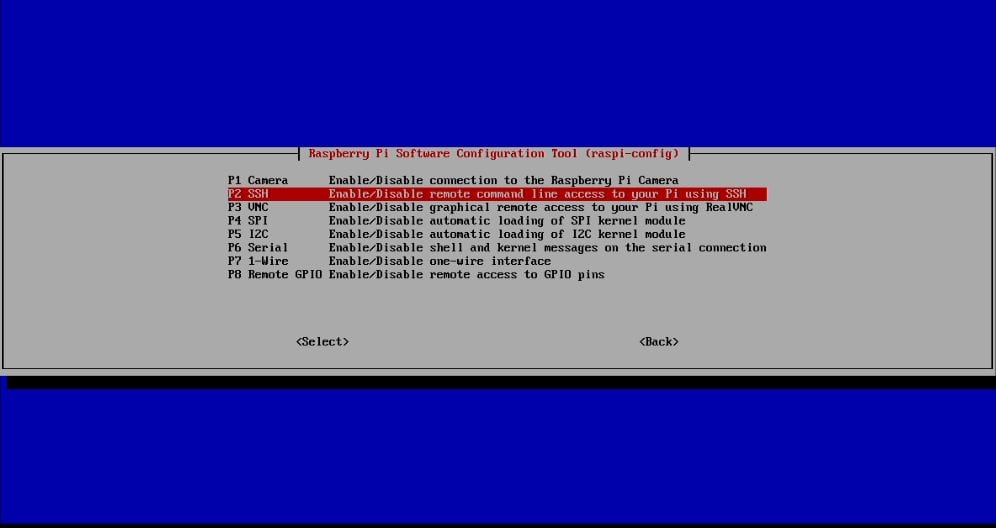
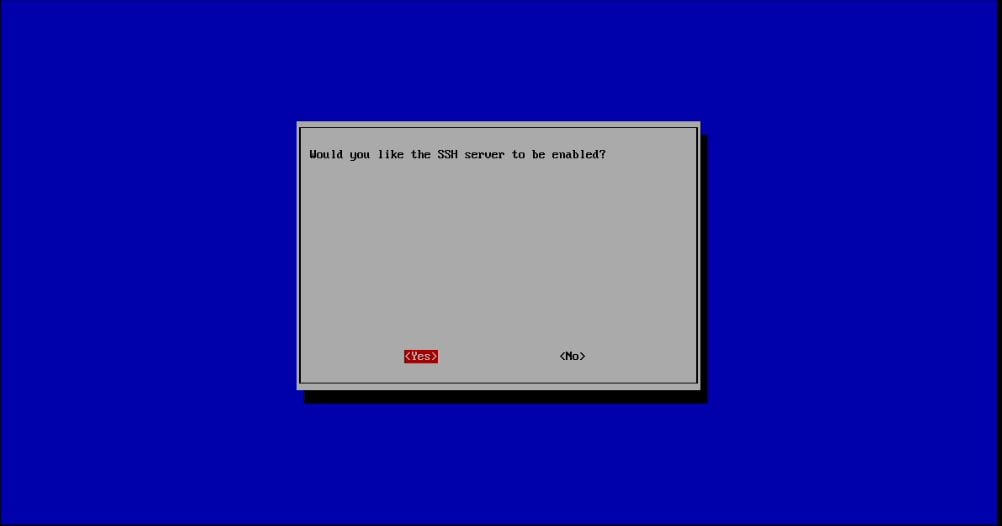
Select “5 Interfacing Options” > Select “P2 SSH” > Select “YES” to enable SSH
You will get a confirmation saying SSH is enabled. From this point. All our configuration will be done via Putty. Putty is a SSH/Telnet Client that allows us to connect to the Pi via the SSH protocol. This is common for accessing linux machines. You can get Putty here: http://www.putty.org/
How to find the IP address of our Pi so that we can SSH to it
You should still be logged into the Pi, go back to the command line and type:
ifconfig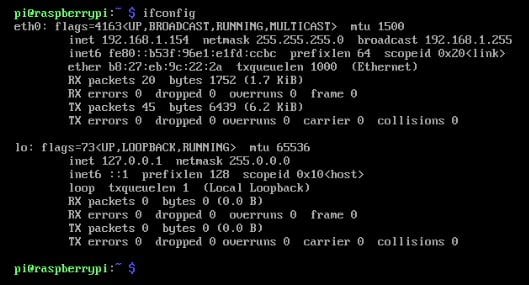 We need this IP address so that we can log into the Pi via SSH. Look for eth0 and browse across until you see ‘inet’ This is the IP address we require. In this case the Pi IP address is: 192.168.1.154 – Write this down or remember it.
Open Putty and SSH into the Pi
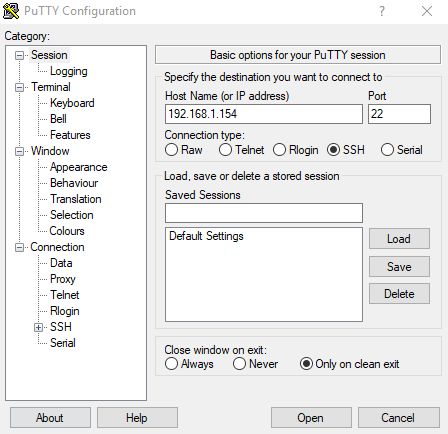 Enter the IP address of the Pi from the ‘ifconfig’ command. Then Click OPEN. You may be asked to accept some authentication keys. You only need to do this once. You will now be greeted with a similar login screen to the previous.
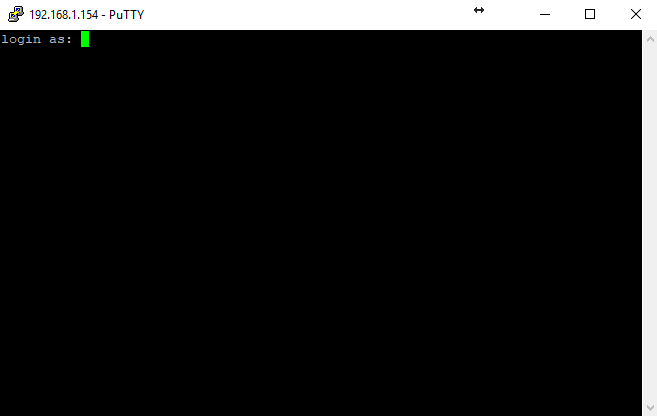 Login as per usual.
Username: pi
Password: raspberry
If you find that some of your keyboard strokes are not the same as mine, you may need to go back into Raspi-Config and change the localization settings or Keyboard options. It also can not hurt to Extend the size of the file system. This will allow the Raspbian build to utilize the full size of the SD card.
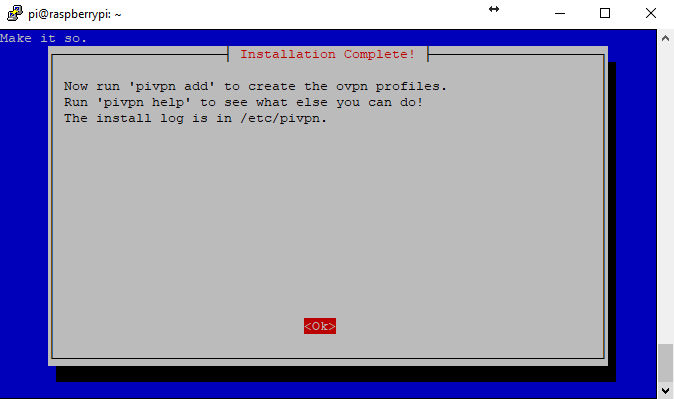
PiVPN Install – Now that we are set up, it’s time to install and setup!
Now to installing PiVPN. If you are looking at installing PiVPN, then you have probably already been to the website. I just want to make mention that installing software like this could be dangerous if it is not from a trusted source. Basically we are telling the pi to run a heap of commands that are located on the internet. Be sure to check the source first to ensure it is reputable.
The command we are going to run is:
curl -L https://install.pivpn.io | bashIf you have not run an “apt-get” update today the first thing that the software will do is run this for you. This ensures all packages are up to date before installing. After the install process you will see the following configuration screens:
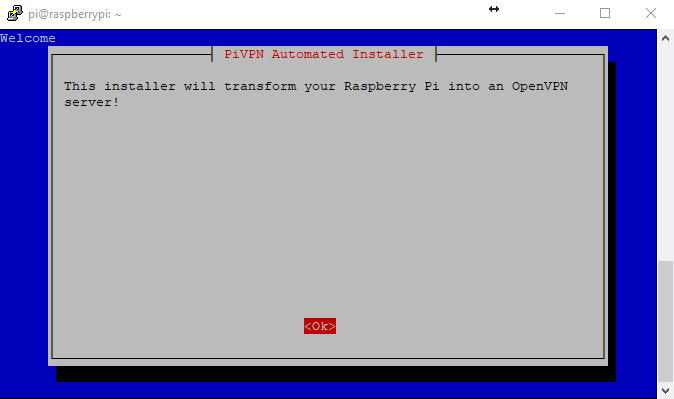 1. This will start the OpenVPN install.
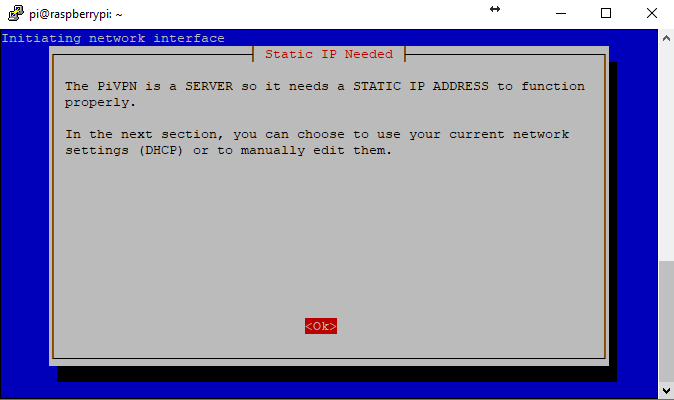 2. At this stage, you should be thinking about making the address the Pi was given static. Or logging into your router and “binding” the DCHP address it was given to the MAC address of the Pi. This will allow the Pi to hold the lease and never change.
 3. This will change the address. Remembering when it commits the change, your SSH session will drop and you will have to re-establish the session on the new IP address. For now, I am going to leave it as 192.168.1.154 as I have bound that IP to the MAC of the Pi on my router.
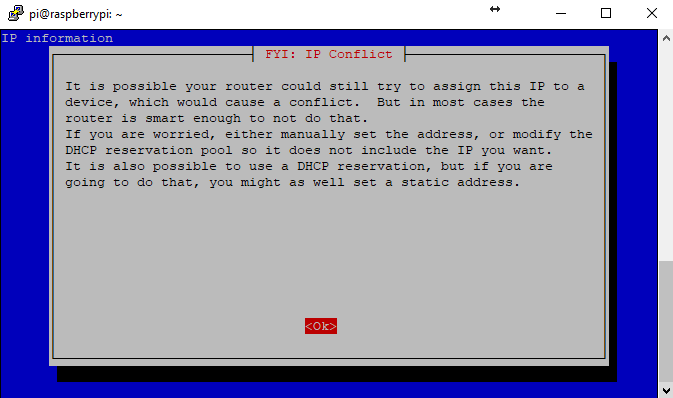 4. Indicating that you could get IP conflicts if you don’t either bind your IP to MAC or exclude that IP from DHCP.
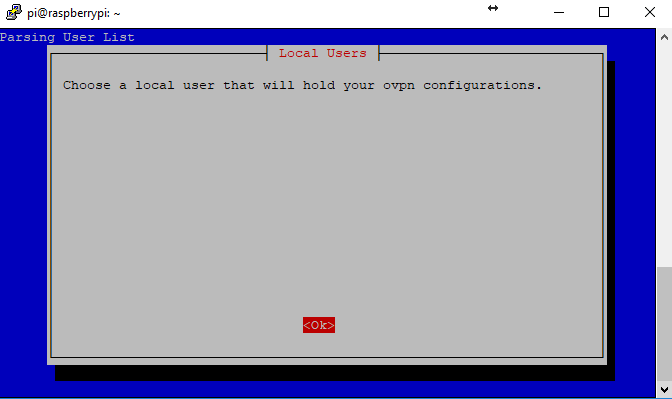 5. This screen is asking you to choose a user to hold your OVPN configs.
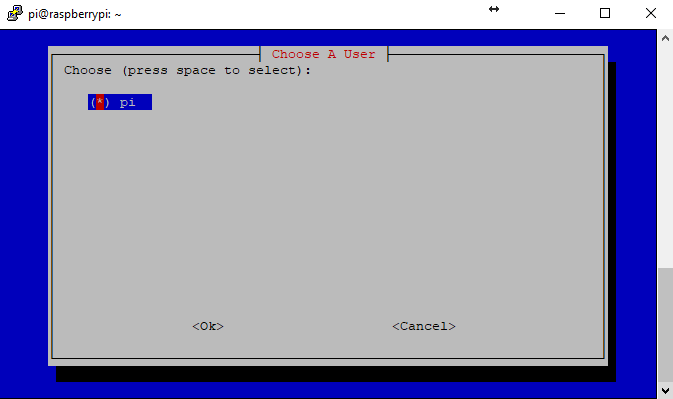 6. If you had other users setup then you would be able to select them here. It is generally a good practice to Change the users away from the default username and password. For now, we will stick with the default.
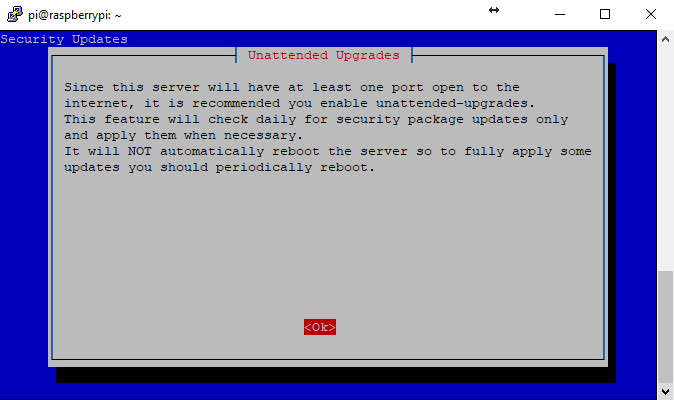 7. Because this is our only open facing port, we really should keep all software up to date including security patches. Why not do this automatically? Unless you have some configs that you don’t want messed with. Automatic patches can have a tendency to mess with the compatibility of software at times.
 8. As per the last screen. Do it! or make sure you keep on top of it manually.
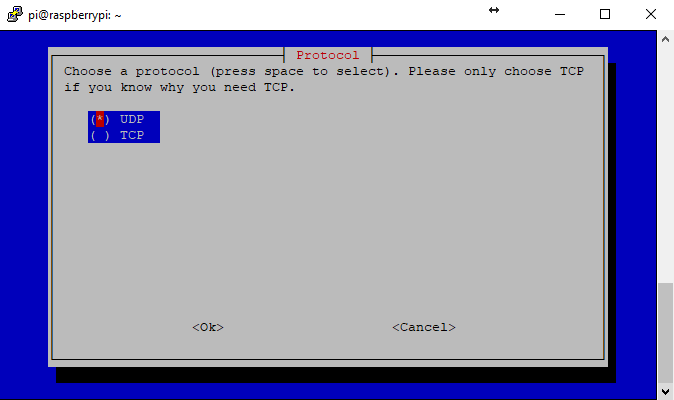 9. UDP will suffice unless you have any additional configs that require TCP.
 10. If you don’t want anyone sniffing your VPN out on the default port, feel free to change this default port. However, be sure to port forward the new one on your router so that the VPN can be accessed from outside your network. Also, remember this port for any config changes that may need to be made.
 11. A second confirmation.
 12. Choose the encryption type for your server. 2048bit encryption will suffice in most instances.
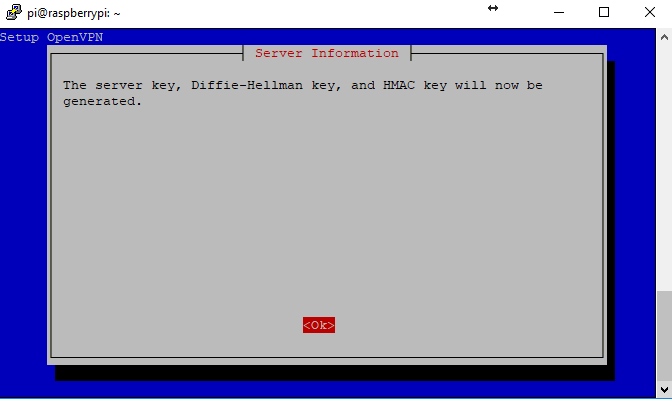 13. This screen if indicating the types of keys that will now be generated.
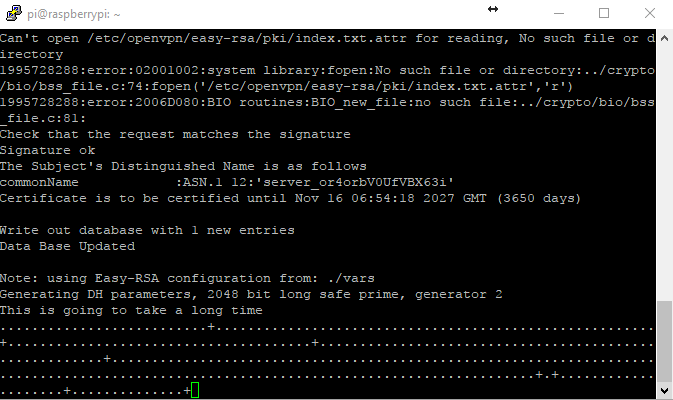 14. Because the Pi has very little processing power it can take 30-45 minutes for it to create the 2048 bit certificate/key. Go get a coffee! If you had of chose 4096 encryption then you would get the option to download some assistance files from the internet. Otherwise generating a 4096bit key on a Pi would take a VERY long time.
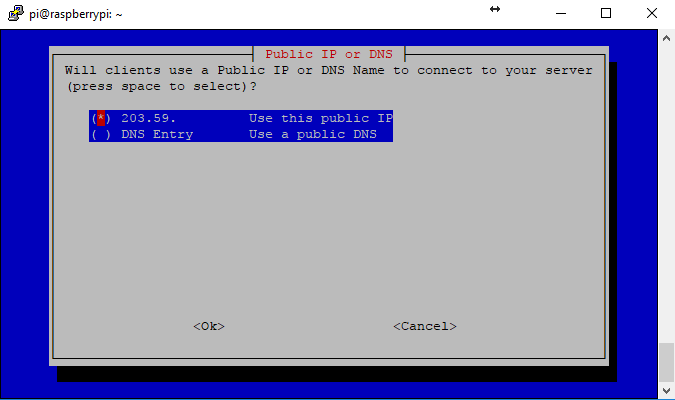 15. This screen allows you to set your WAN IP address or set a DDNS account. These can be changed after the fact via the config files however because we have a static address at home, I can leave it as the WAN IP. (I have blanked out some of the IP on purpose.)
 16. Here we can set the DNS for our VPN, if you are unsure, just set it to the Google DNS address. (8.8.8.8 Primary, 8.8.4.4 Alternate)
 17. Everyone loves a good reboot! No time like the present.
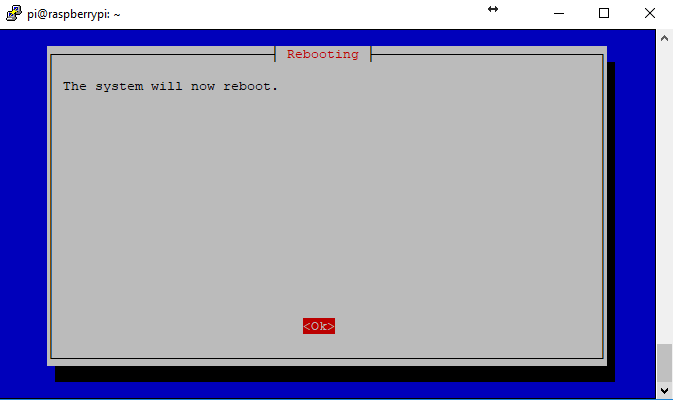 18. Just in case you were not sure of the previous screen. Remembering that your SSH session will drop during the reboot. Simply Re-connect to the same IP address after a few minutes.
At this stage, it can’t hurt to upgrade the Raspbian image. Run this command:
Sudo apt-get upgradeThis is one of those administration tasks that should be done regularly to keep the Pi image in good working order. Unless obviously you are against keeping software up to date, or you have something specific happening in which you cannot afford for it to be affected by updates.
Create A User – This is how we add clients/ Users to OpenVPN
We now need to configure the server to accept connections from the client devices or computers. To do this we set up a client OpenVPN configuration file. (.opvn file to be exact) This client file is loaded onto the device that wants to connect to the VPN tunnel. It stores the config and encryption keys to access the VPN.
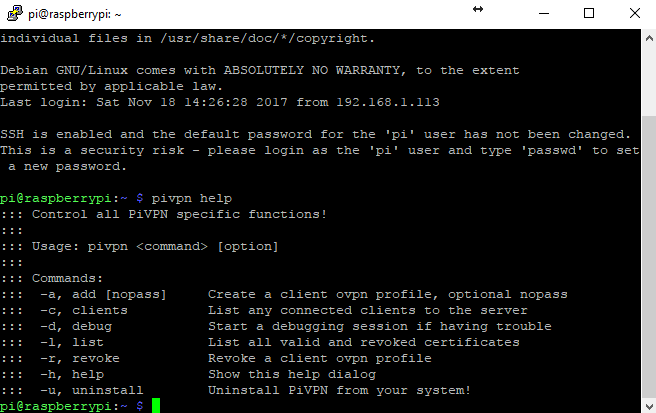 1. If you run the command:
pivpn helpYou will be greeted with the list of commands that we can now run on the Pi to configure the clients and do other administration tasks.
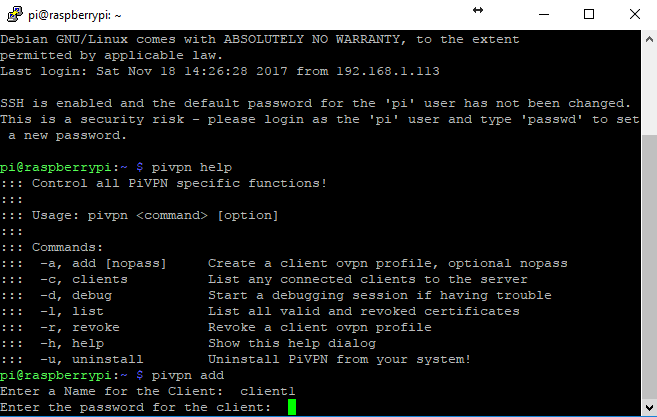 2. Run the command:
pivpn addThis will start the process of creating a client configuration file. You will need to set a password at this point. Ensure you do not forget it, as you will be required to add it on the Client VPN software when we try to connect.
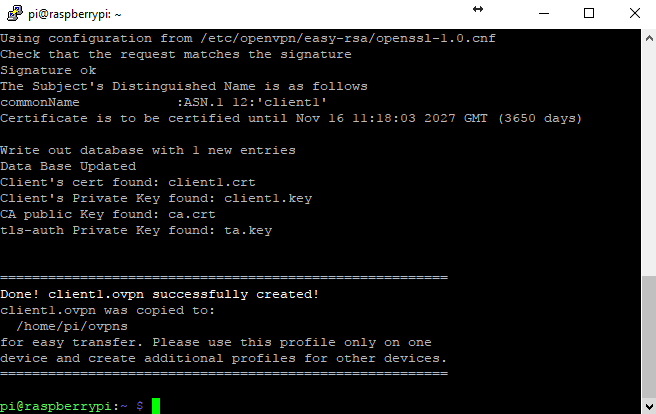 3. That is it for creating the .opvn client config file. It can now be found as indicated at: /home/pi/ovpns
Moving the client config – we need to move this config file to our device
In this example, we are going to move the configuration file to a Windows PC that we want to be able to access the VPN and the local network. We must now use some of the additional software to move or grab this config we just created. In this case, we decided to use Filezilla as the Pi image already has SFTP enabled by default.
 1. Open Filezilla FTP client. The configuration details that you need to enter in the top for “Quickconnect” are:
Host: 192.168.1.154 (or put sftp:// it will do this automatically when we select port 22 later)
Username: Pi
Password: raspberry
Port: 22 (SFTP default port)
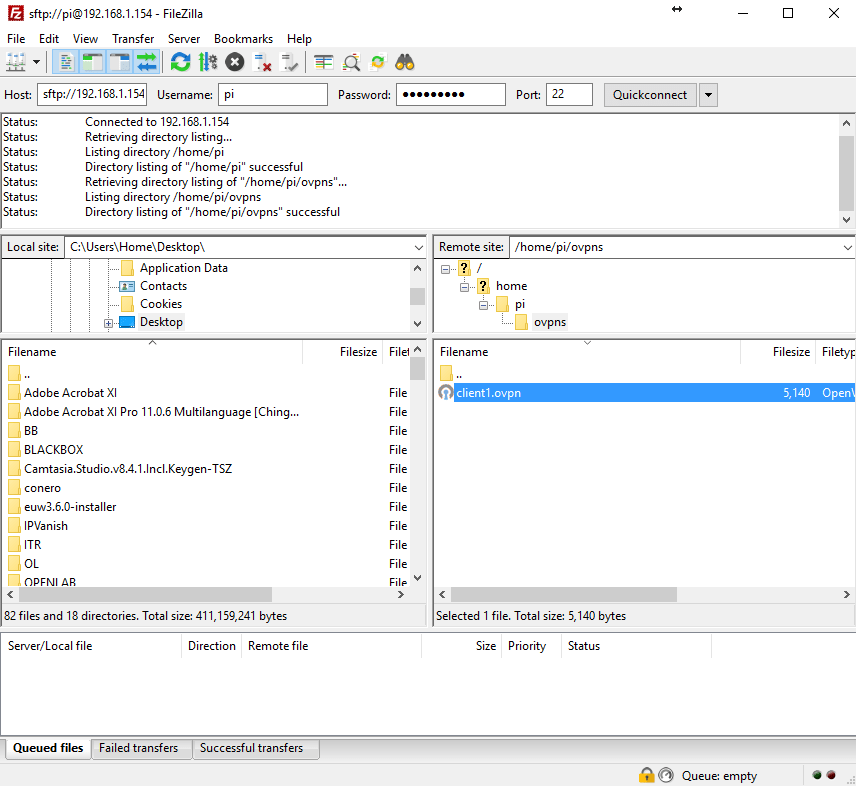 2. When you hit “Quickconnect” you should see a successful directory listing in the right-hand navigation pane. Navigate your way to the ovpns folder (Located in the Home directory, if for some reason it did not default to that) Then identify the client1.ovpn config file that was created earlier. Download this file to your desktop by clicking on it and dragging it to the left pane. Ensure you identify the area you are dragging it to as that is your local computer.
Client Config – We need to set up our client now using that file!
We now have a copy of the OpenVPN config file transferred to our client computer. We will need to go ahead and install the OpenVPN client software located here: https://openvpn.net/index.php/open-source/downloads.html
Step through the standard hoops for installing a windows application.
 1. After the OpenVPN software has been installed the Client1.opvn config file needs to be copied to the OpenVPN config folder located here: C:\Program Files\OpenVPN\config (For Windows)
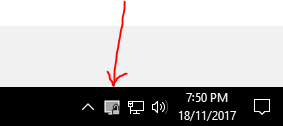 2. Run the OpenVPN software. Most likely is will open to your taskbar.
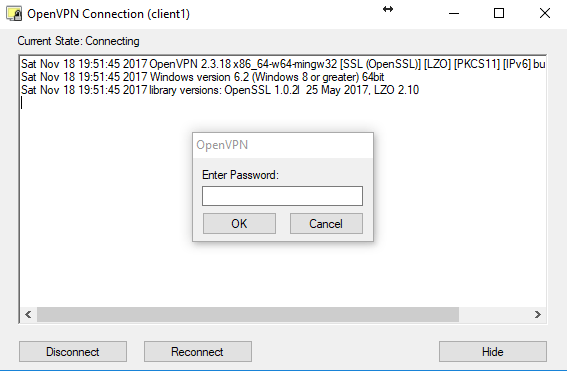 3. ‘Right-Click’ the icon in the taskbar and select “Connect”
Enter your password that we set when we added the client to the Pi VPN server.
 4. Once connected you should see the OpenVPN client taskbar icon turn green and the status screen should look like the above. The VPN server should have set up your routing tables now so that you can access anything inside your local network automatically. Give it a shot, shoot a ping through to your local router. What you may also notice is that the VPN tunnel has been assigned a 10.0.8.# address. The VPN server runs its own network for the tunnel with its own DHCP. When another client connects they are allocated another address on this same range. The server looks after the bridging of this network to your own local network.