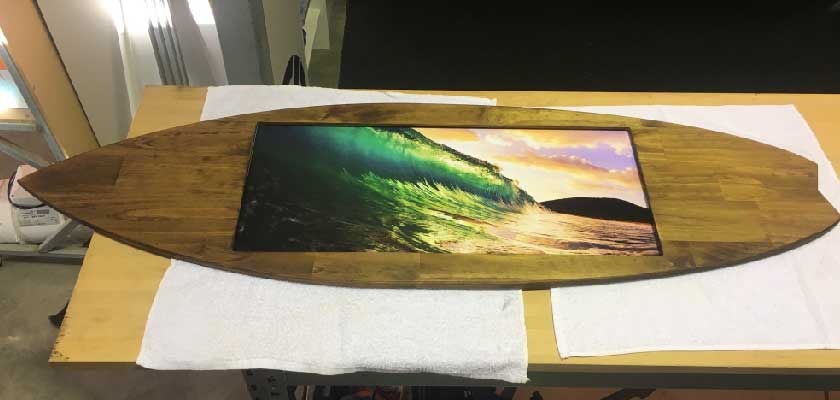
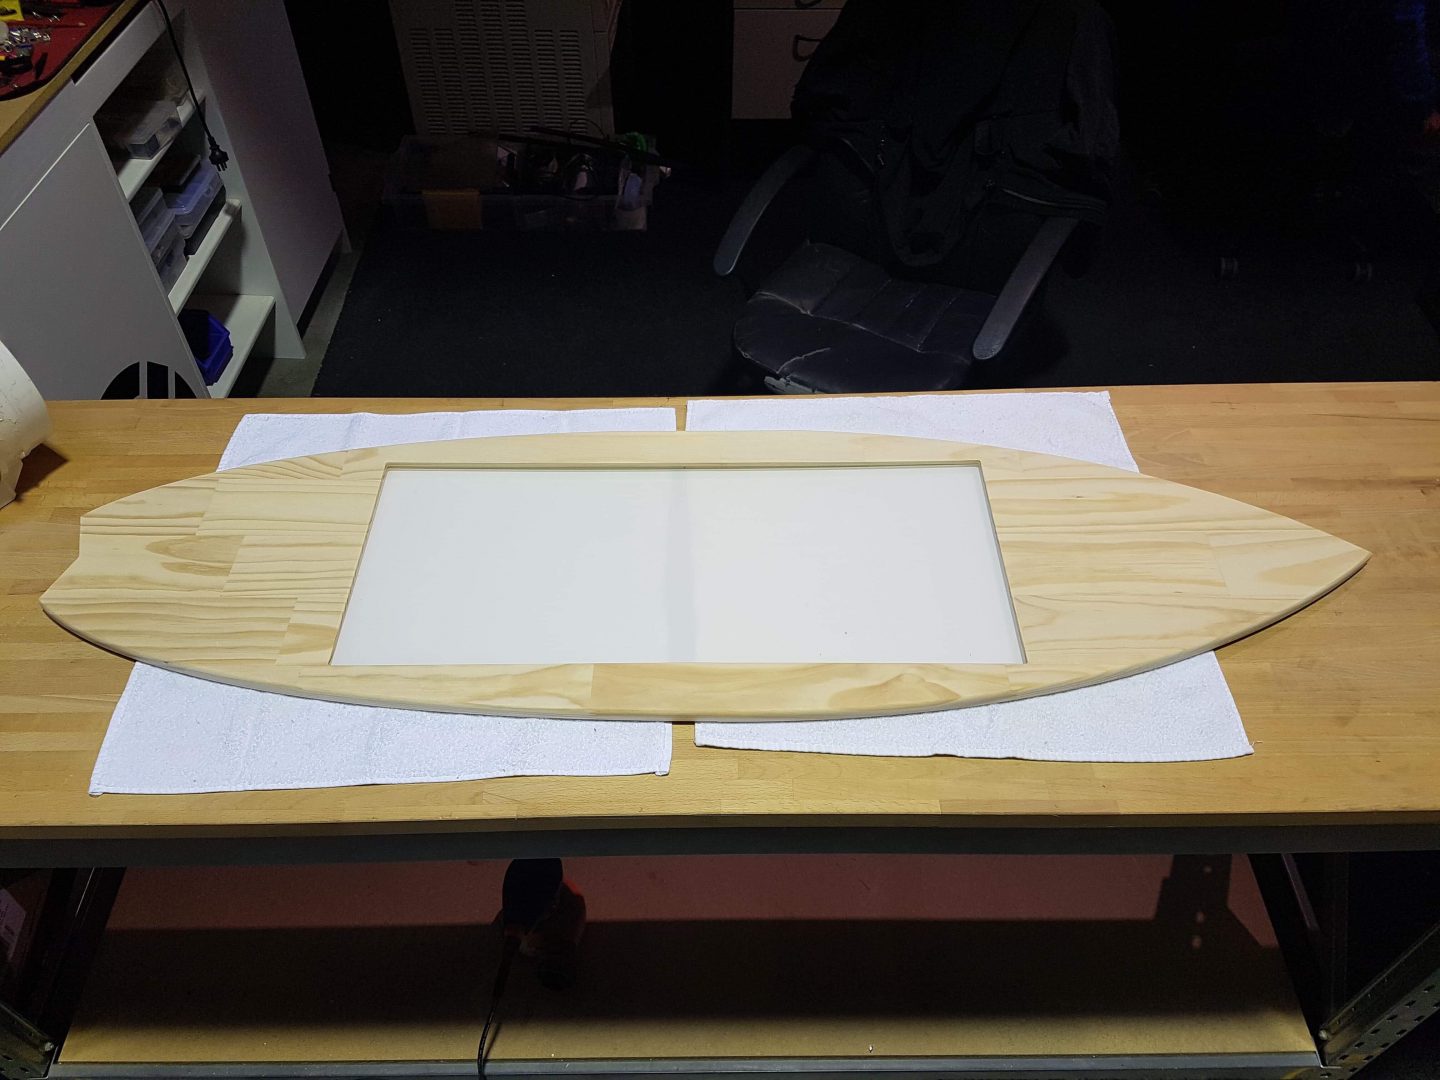
 It’s a Sunday and it’s raining! So why not revisit one of the old projects and see if we could make some improvements! I’ve had these pine panel in the workshop for months and figured it was a good time to do some revisions. Every time I have made a photo frame like this the photo tends to get drowned out. So we went big! 12″ x 28″! That’s 304 mm x 711 mm for us metric minded people. Going that big had me playing with the size of the board and no doubt you can tell by the pics where I made the errors. Can you spot them?
CNC – The lazy man’s router…
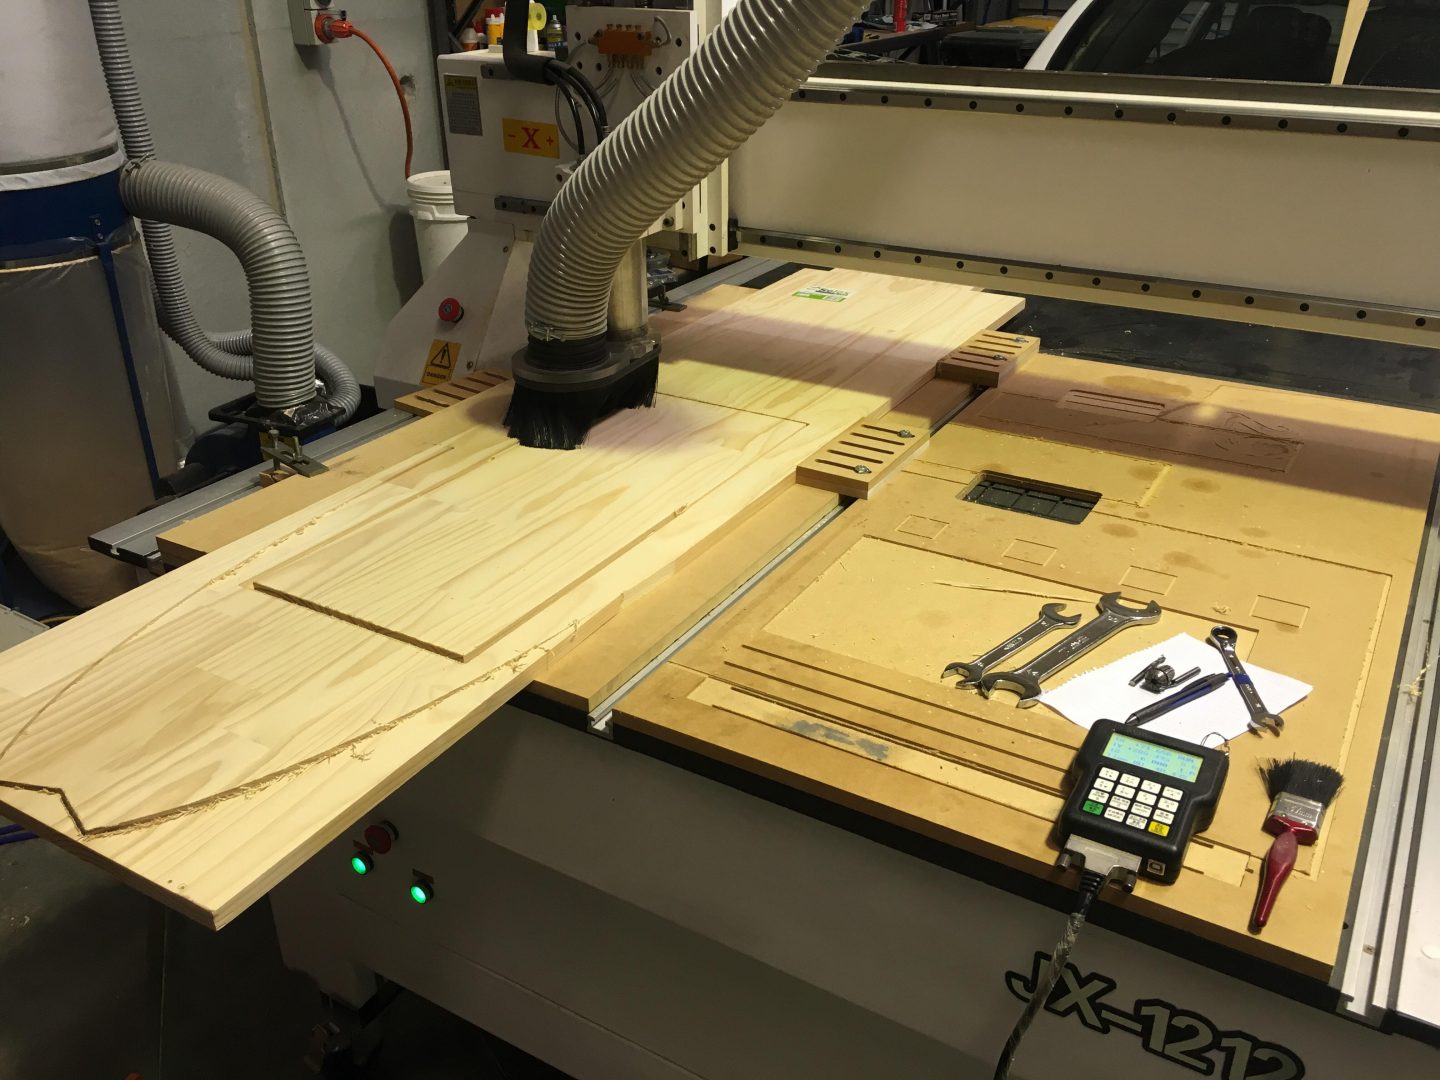 The CNC router has served me well. Even though I don’t really do a lot with it, it sure makes cutting 2D items super easy and quick. For this design, I decided to widen the board slightly so that the corners of where the photo and acrylic sit is a bit stronger. I was a bit worried that where the pine is laminated it could split apart. However, after cutting it seems to be pretty strong. The laminated panels I’m using are 450mm wide and somehow, as you can see I managed to cut outside the panel slightly. This was because I got a bit lazy and didn’t measure properly. (I also assumed my ‘zero’ reference points were wider than the cut, obviously not!)
Also, not sure if you have spotted it, but I had to use the ’tile’ function in my CAM software as the router is not long enough. This can be tricky, but having one straight edge is good to slide the panel through. This keeps everything aligned.
Manual Labour
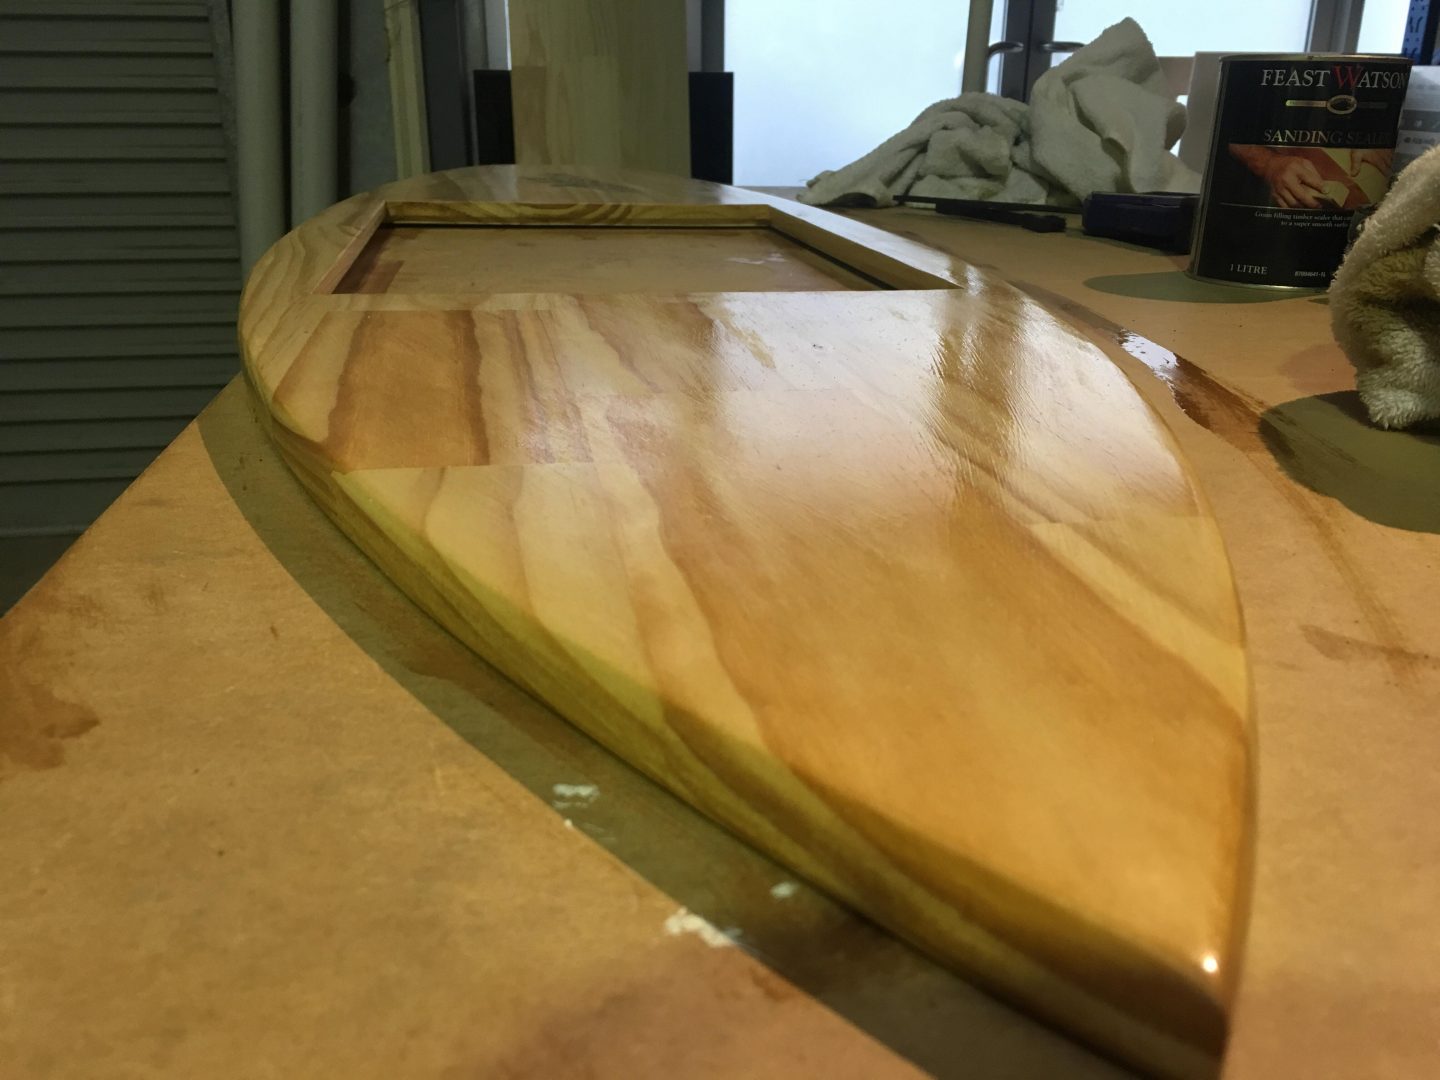
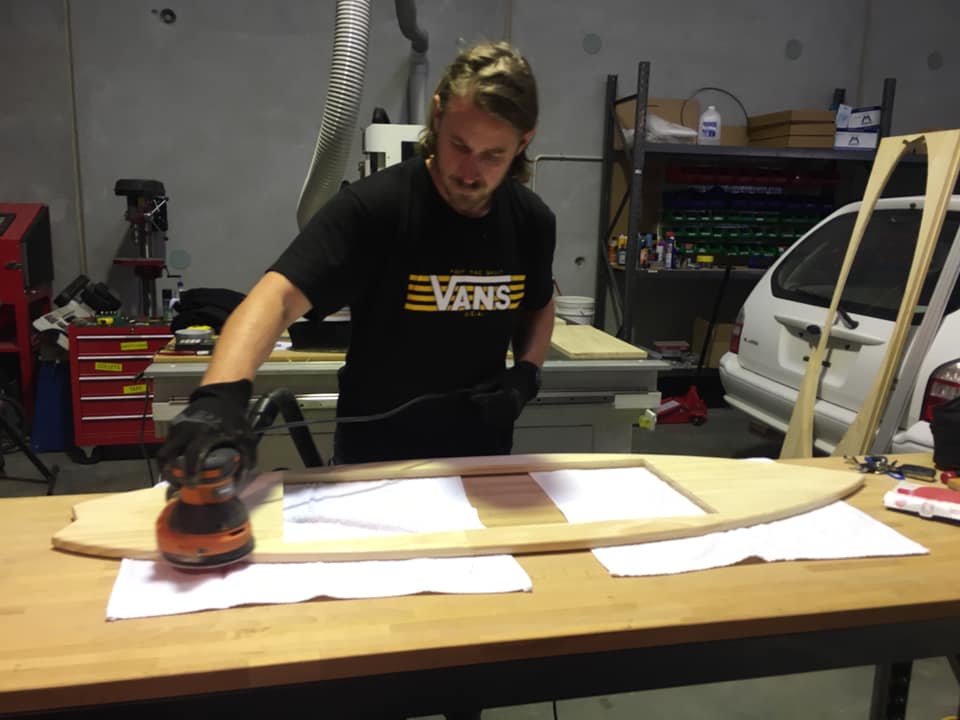 I still have not figured out how to do a beveled edge on my router, so against my will, I did this by hand. This gives the frame a bit more of that actual surfboard feel. It’s the little things that finish it off. Oh, I also sanded a whole lot. 250 grit, 120 grit and even 1200 wet and dry to see if I could get that ultra-smooth look.
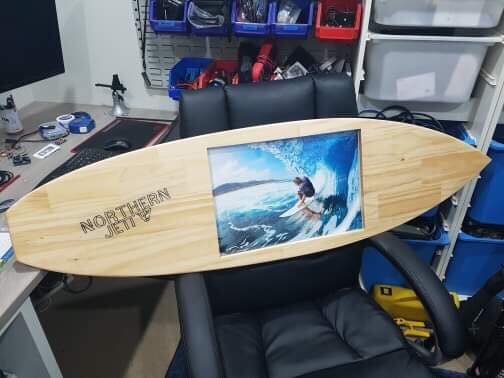
okay, okay, so I made two frames…
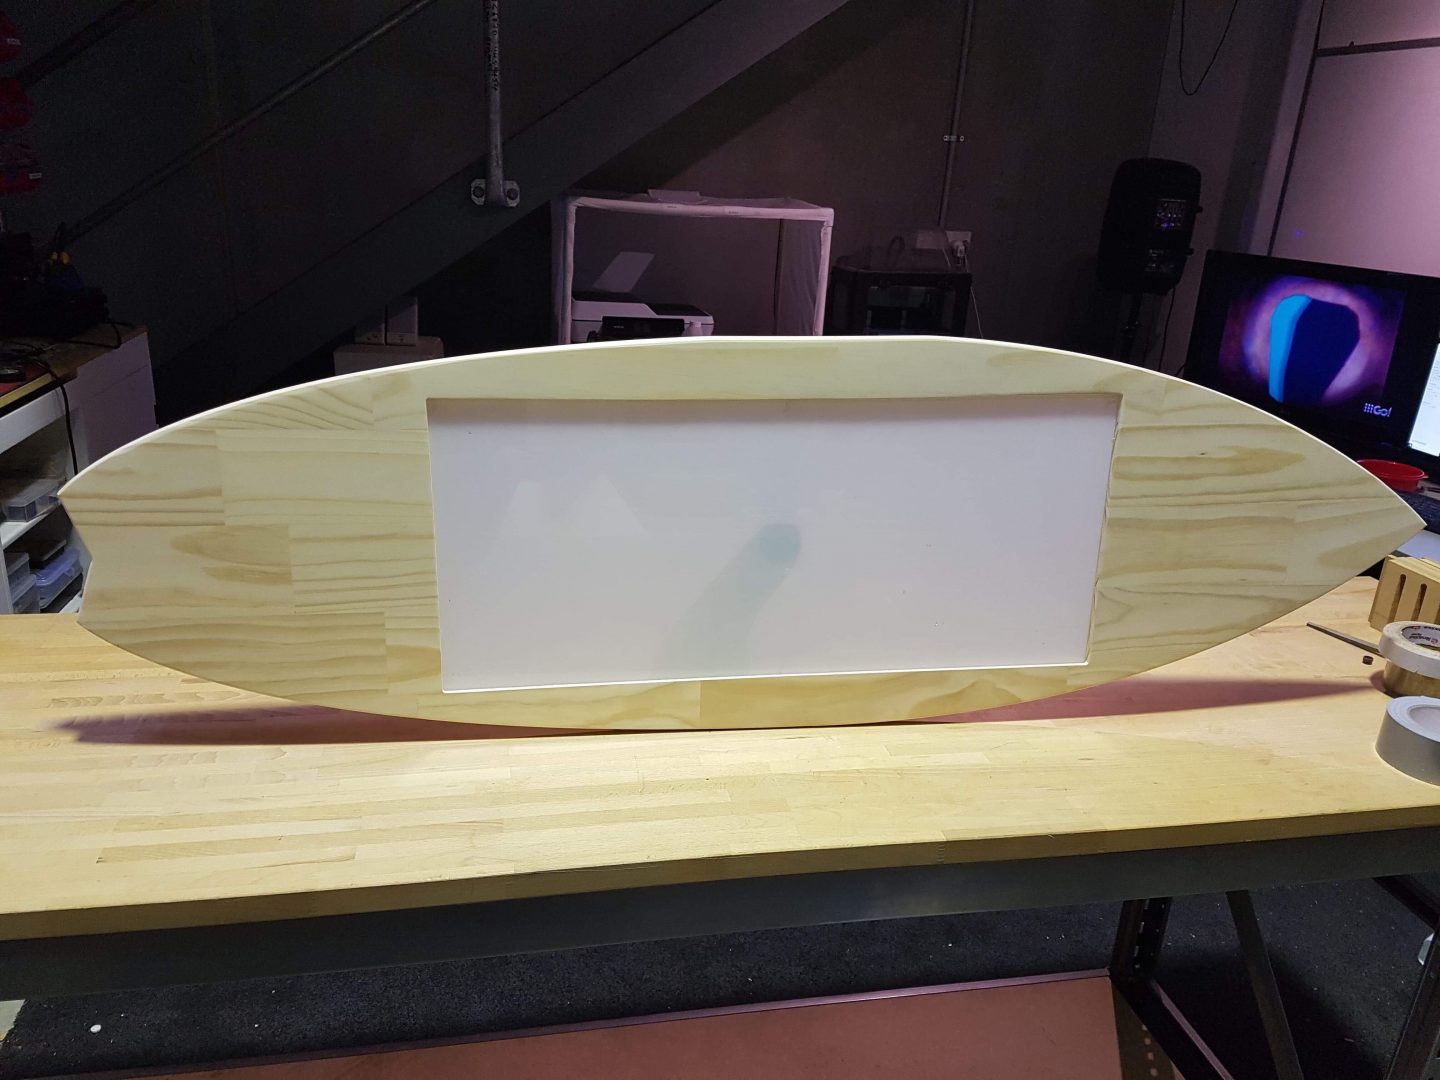
As you may have noticed I did make two frames. The first was only 12″ x 18″. I felt the picture was drowned out a bit by the board, so I went to the larger format which I think will be a much better setup. The first frame I finished in a clear coat stain. I wanted to try and make the Pine ‘pop’. I am still undecided about this and will try some different stains over the next week or so. Anyhoo, I am sure you are sick of reading my babble so check out the progress pics below.